
The eSIM Card Revolution: Why Your Next Phone Will Never Need a SIM Tray
Have you ever wondered how your phone connects to a cellular network without a physical plastic SIM card? An eSIM card, or embedded SIM, is a tiny chip soldered directly into your device that stores your mobile profile digitally. You can activate it by scanning a QR code or downloading a carrier’s app, and it allows you to switch between multiple network operators without swapping any physical card. This technology offers the benefit of seamless connectivity across devices, making travel and managing multiple lines simpler.
What Exactly Is an Embedded SIM and How Does It Differ from a Physical One?
An embedded SIM (eSIM) is a soldered, rewritable chip permanently attached to a device’s motherboard, replacing the removable plastic physical SIM card. Unlike a physical card you insert or swap, the eSIM’s identity is downloaded digitally as a profile, so you activate a carrier plan via a QR code or app. The core practical difference: a physical SIM ties you to one carrier per card and requires a new card for each switch, while an eSIM lets you store multiple profiles and change networks in minutes without touching hardware. This matters especially for travel—you can add a local data plan instantly. However, unlike a physical SIM, you cannot move an eSIM between devices by transferring the card itself; you must re-download the profile on the new device. For daily use, the eSIM also frees the tray slot, but a physical SIM remains easier to move between an old and new phone.
The Core Technology: A Chip Soldered Inside Your Device
The heart of an eSIM is a soldered embedded chip, permanently fixed to your device’s motherboard during manufacturing. Unlike a physical SIM, this tiny microcontroller has no tray, no slot, and no removable parts—it’s a tamper-resistant piece of silicon that stores your subscriber credentials digitally. The chip connects directly to the device’s baseband processor via a dedicated interface, allowing instant network handshakes. When you activate a plan, the carrier sends a secure profile that writes encrypted data into the chip’s memory. This process follows a clear sequence:
- The chip generates a unique cryptographic key pair.
- The carrier’s server validates the chip using a digital certificate.
- The profile downloads and activates without physical handling.
Because the chip is non-removable, you cannot swap networks by swapping cards—you switch profiles entirely through software, making the hardware itself a permanent, silent component of your device’s connectivity stack.

Physical SIM vs. Digital Profile: Key Functional Differences
A physical SIM is a tangible chip you swap between devices, tying your number to hardware you must carry or lose. A digital profile, by contrast, lives as encrypted software on the eSIM chip, letting you switch carriers or plans in minutes through a settings menu. With a physical card, changing operators demands a trip to a store or waiting for mail delivery; with a digital profile, you scan a QR code and the account activates instantly. Also, a physical SIM occupies a tray and limits dual-SIM flexibility, while switching eSIM profiles on the fly allows multiple numbers—work, travel, personal—to coexist on one phone without touching any hardware.
How Do You Activate a Digital SIM on Your Phone?
You’ve just bought an eSIM card online, and the QR code lands in your inbox. To activate it, open **Settings** on your phone, tap „Cellular” or „Mobile Data,” then choose „Add eSIM.” Scan the QR code with your camera, and the profile downloads instantly. After a quick confirmation prompt, your digital SIM goes live—no physical tray involved. “What if I switch phones later?” Simply rescan the same QR or re-download the profile from your carrier’s app, then delete the old eSIM remotely. On a recent trip, I activated mine in under two minutes before boarding—just needed Wi-Fi and a stable signal. The whole process replaces plastic with a tap, and the old SIM becomes inactive the moment you confirm.
Scanning a QR Code: The Fastest Setup Method
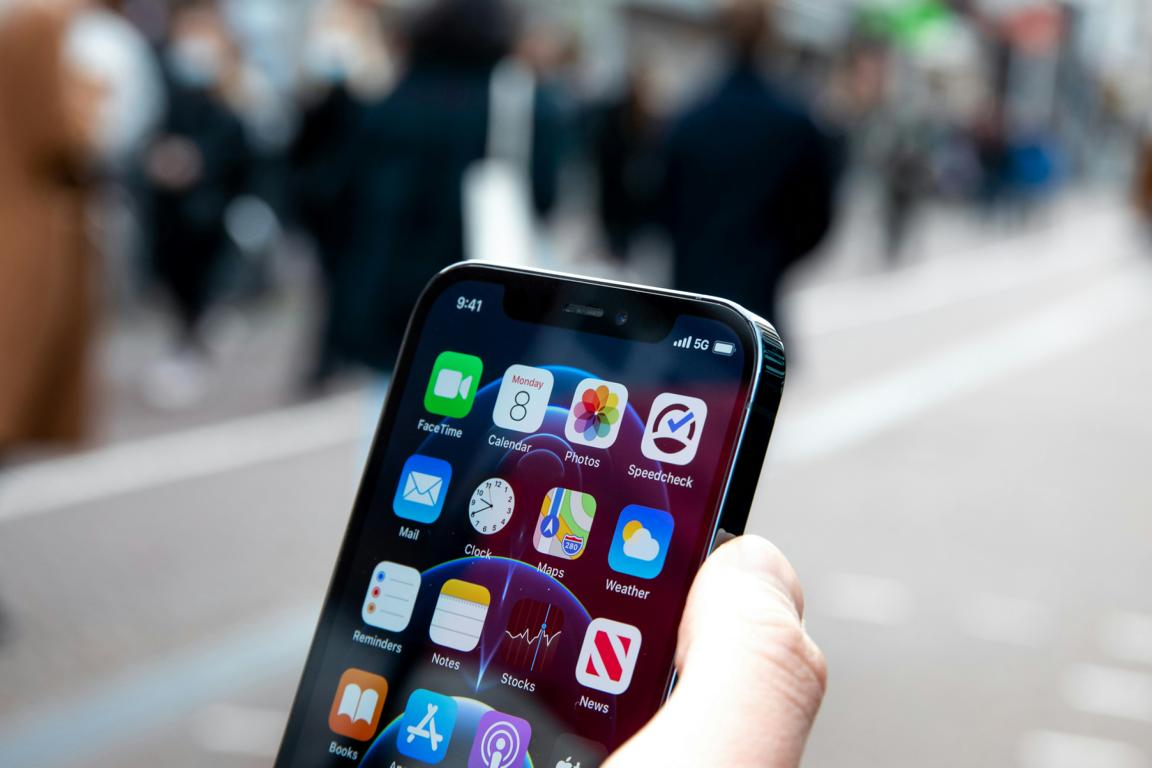
Scanning a QR code is the fastest way to activate an eSIM, typically taking under two minutes. After purchasing a plan, your carrier emails or displays a QR code; open your phone’s Settings, tap “Cellular” or “Mobile Data,” then “Add eSIM.” Point your camera at the code, and the profile installs automatically—no manual entry of lengthy SM-DP+ addresses or activation codes. QR code eSIM activation eliminates typing errors and works across iPhone and Android flagships. However, ensure you have Wi-Fi or a stable signal, as the download can fail mid-install if interrupted. Once scanned, restart your device to finalize connectivity.
Q: Does scanning a QR code for eSIM activation require a physical SIM card?
A: No—the QR code replaces the physical SIM entirely, so you scan and go, with no card swapping involved.
Manual Entry of Activation Details: When QR Codes Aren’t an Option
When a QR code is unavailable—due to damaged packaging, email delivery failure, or a printed sheet that’s been lost—activation relies on manual entry of activation details within the phone’s cellular settings. Your carrier provides a digital SIM profile identifier (SM-DP+ address) alongside an activation code; you input these into the “Add eSIM” menu instead of scanning. After entering the credentials, the device securely downloads the profile over Wi-Fi. The entire process demands precise keystrokes, as a single typo in the SM-DP+ URL triggers an immediate error and forces a restart. Confirm that auto-discovery is enabled in iOS’s “Add Cellular Plan” or Android’s “Download SIM” flow, then reboot once the profile lands.
- Copy the SM-DP+ address from your carrier’s web portal or email, not from memory.
- Use the “Enter details manually” option, not the carrier app, when the QR is missing.
- Check that your phone is connected to Wi-Fi before submitting; mobile data may interrupt the download.
Installing Multiple Profiles and Switching Between Them Instantly
Activating a digital SIM supports storing multiple operator profiles on a single eSIM chip, enabling near-instant switching without physical card swaps. After initial activation, you add additional profiles through your device’s cellular settings, usually by scanning a QR code or entering an activation code from your carrier. Each profile occupies a distinct slot, but only one can be active for data at a time; however, you can designate a separate line for voice and SMS concurrently. To switch, simply navigate to the “Cellular Plans” menu and tap the profile you want to prioritize—the handset reassigns network access within seconds. This workflow effectively creates **instant profile switching for travel and work**, eliminating downtime during carrier changes. Ensure all profiles remain downloaded, though unused ones can be temporarily disabled to save resources.
What Are the Real-World Benefits of Using a Built-In SIM for Travelers?
A built-in eSIM genuinely changes how you travel because you can ditch the physical SIM card hunt entirely. Instead of scouring airport kiosks or paying inflated roaming fees, you simply scan a QR code from a local or global provider before you land, activating a data plan in minutes. This means you’re connected the moment you step off the plane for maps, ride-hailing, and messaging, without juggling tiny plastic cards. Since the eSIM lives in your phone’s hardware, you also keep your primary number active for two-factor authentication and WhatsApp calls, though you’ll want to disable background data on that line to avoid surprise charges. Switching between countries is effortless—just download a new profile for each destination, no wrench or paperclip needed. You gain real flexibility, and your phone stays immune to SIM tray damage from constant swaps, which is a silent lifesaver on long trips.
Avoiding Roaming Charges Without Hunting for Local SIM Shops
Eliminating surprise bills starts with avoiding roaming charges without hunting for local SIM shops, and a built-in eSIM makes this effortless. Instead of spending vacation hours locating a retailer, you purchase and activate a regional data plan from your phone’s settings before departure. This directly cuts the per-megabyte fees carriers levy abroad, replacing them with a flat, predictable cost. Even better, you can switch between multiple prepaid eSIM profiles mid-trip without ever removing your physical SIM. The moment you land, your device connects to a local network—no passport checks, no tiny plastic trays, no language barriers. You simply choose a plan, pay with your usual card, and your connectivity is secured before your plane taxis to the gate.
Keeping Your Primary Number Active While Using a Local Data Plan
With an eSIM, you can keep your primary number active for calls and SMS while a separate local data plan handles connectivity—no need to physically swap cards or risk losing access to banking codes and two-factor authentication. Your home number stays reachable for urgent contacts, while you enjoy affordable high-speed data abroad via the second eSIM profile. This dual-line setup eliminates the hassle of carrying a spare phone or juggling hotspots. Keeping your primary number active while using a local data plan means you never miss a verification text or emergency call, yet you still avoid roaming fees for everyday browsing.
Activate a local data eSIM, retain your home number for essential calls and codes—seamless travel without disconnection.
Which Devices Support This Digital Technology, and How Do You Check Yours?
Most modern smartphones, from iPhones (XR and newer) to Google Pixels and Samsung Galaxy S series, support eSIM, along with select tablets and smartwatches. To check yours, open your device’s settings: on iPhone, go to **Cellular** and look for “Add eSIM”; on Android, navigate to **Connections > SIM manager** or **Network & internet > SIMs**. If you see an option to add a mobile plan without inserting a physical card, your device is eSIM-compatible. Alternatively, dial `*#06#` – if an EID number appears, you’re fully equipped. For PCs or older models, check the manufacturer’s spec sheet under “SIM support” – many laptops and iPads include eSIM as a standard feature.
Your device’s settings menu is the fastest, most reliable validator: if “Download a SIM” or “Add eSIM” exists, you’re ready.
Missing that option usually means no eSIM hardware, so physical SIM remains your only route.
Recent Smartphone Models That Come with the Hardware Built-In
Recent flagship releases from Apple, Google, and Samsung ship with eSIM hardware built directly into the logic board, meaning no physical SIM tray is needed for primary line activation. For example, the iPhone 15 and 16 series (US models) contain an embedded eSIM chip that supports multiple profiles, while Google’s Pixel 8 and 9 integrate the same capability for dual-active lines. Samsung’s Galaxy S24 and S25 similarly include the hardware, allowing you to switch carriers without inserting a card. To verify your device’s support: check Settings → Cellular (iOS) or Connections → SIM manager (Android), and look for “Add eSIM” or “Download a SIM” options—if present, the hardware is active and ready.
Smartwatches, Tablets, and Laptops: Beyond Just Phones
Beyond smartphones, eSIM support on smartwatches, tablets, and laptops turns each device into a standalone connectivity hub. On a smartwatch, you check by opening the companion app (e.g., Watch app) and looking for “Mobile” or “Cellular” – if you see “Set Up eSIM,” your model supports it, letting you leave your phone behind. For tablets and laptops, navigate to Settings > Network & Internet (Windows) or Settings > Cellular Data (iPad/Android) to find the eSIM profile menu. You either scan a carrier QR code or enter a manual activation code there.
- Smartwatches typically require the paired phone’s app to scan a QR code for a shared-number plan.
- Tablets with eSIM allow multiple profiles, so you can switch between home and travel data plans in the Settings menu.
- Laptops with an embedded eSIM (e.g., many Windows 11 models) let you purchase data directly from the Settings page without a physical SIM slot.
Verifying Compatibility Through Your Device Settings Menu

To verify eSIM support without external lists, open your device’s settings menu for eSIM compatibility and navigate to “Cellular” or “Mobile Data” (iOS) or “Connections” → “SIM Manager” (Android). Look for an option labeled “Add eSIM” or “Add Mobile Plan”; its presence indicates native hardware support. On iPhones, also check “About” under General—if an “IMEI2” or “Digital SIM” entry exists, your model is eSIM-capable. For Android, tap “SIM card status” and confirm a “SIM slot (eSIM)” option. If neither appears, the firmware may hide the menu; ensure the OS is updated to the latest version, as manufacturer patches often unlock eSIM visibility. A visible but greyed-out “Add eSIM” button suggests carrier lock or regional firmware restrictions, not hardware failure.
How to Choose the Right Data Plan for Your Embedded Chip?
Choosing the right data plan for your embedded eSIM chip starts with matching the data volume to the chip’s actual workload—like sensor pings or firmware updates—not your phone habits. Check the network coverage for the specific regions your device roams to, since a cheap plan is useless without a stable signal. For a chip that sleeps often, prioritize plans with pay-as-you-go tiers over fixed monthly bundles to avoid wasted bytes. Always confirm the plan supports M2M connectivity and allows remote provisioning, because you’ll need to switch operators without physically swapping the eSIM. Crucially, verify the plan’s minimum data commitment per billing cycle—some carriers charge for unused kilobytes, which kills low-power IoT budgets. Finally, test the plan’s latency and throughput on a dev board before deploying. Pick flexibility over size, and you’ll keep your chip both affordable and responsive.
Assessing Your Data Needs: Short Trips vs. Long-Term Use
For a short trip, assess your data needs by calculating daily consumption—navigation, messaging, and light browsing typically demand under 1 GB per day, so a small, time-limited eSIM package avoids overpaying for unused capacity. For long-term use, however, your assessment shifts to monthly thresholds, background app refreshes, and tethering habits, which can triple baseline usage. Short trip vs. long-term data scaling hinges on whether you prioritize immediate coverage convenience or sustained cost-per-gigabyte efficiency. A traveler might choose a 5 GB, 7-day plan, while a digital nomad needs 20+ GB monthly with rollover options. Always check your device’s data tracker after 48 hours to validate your estimate, then adjust before renewal.
Q: How do I assess data needs for a 10-day trip versus a 6-month stay?
For 10 days, tally your top three apps’ per-hour usage and multiply by active hours—typically 3–5 GB total. For 6 months, track your first two weeks of real usage, multiply by 12, then add a 20% buffer for firmware updates and cloud sync. That projection decides whether a multi-month eSIM with auto-refill beats stacking short-term packs.

Comparing Regional vs. Global Coverage Options from Providers
When selecting an eSIM for an embedded chip, regional versus global coverage options hinge on your device’s actual deployment geography. Regional plans aggregate carrier partnerships within a specific bloc (e.g., EU or APAC), offering lower per-MB costs and lower latency if your device never roams beyond that zone. Global plans stitch multiple regional networks into one profile, but this convenience carries a premium—often 30–50% higher data rates—and may route traffic through a single core, increasing ping. Before committing, audit your device’s mobility pattern: a stationary sensor in Germany rarely needs global reach, while a logistics tracker crossing borders does. Also confirm whether the “global” map includes your target countries; many exclude long-tail nations like Mongolia or Venezuela.
Q: How do I test if a regional plan suffices before choosing a global one?
A: Request a temporary eSIM profile from the provider and run a field trial https://baztel.co/ in your exact deployment zones for 7 days, measuring signal strength and packet loss. If the success rate exceeds 98% across all sites, regional coverage is sufficient; switch only if failover frequency dictates otherwise.
Evaluating Plan Validity, Speeds, and Fair Usage Policies
When selecting an embedded eSIM data plan, evaluating plan validity and fair usage policies prevents unexpected downtime and throttling. Check validity in absolute days, not months—a “30-day” plan often expires after 720 hours, which can cut a 31-day deployment short. Compare advertised speeds (e.g., 4G LTE vs. 5G) against the chip’s modem capabilities; a CAT-M1 module cannot exploit a 5G plan, so paying for extra throughput wastes budget. Scrutinize fair usage policy (FUP) thresholds: many “unlimited” plans deprioritize after 500 MB/day, reducing latency-critical MQTT traffic to unusable levels. *A plan with 1 GB at 10 Mbps may outperform a 10 GB plan at 1 Mbps for sporadic telemetry bursts.* Always verify whether speed caps apply at the network edge or after the FUP trigger, using a test SIM before mass deployment. Calculate effective cost per usable megabyte under your peak-hour data profile, not the nominal bundle size.
What Should You Do If You Encounter Activation Problems?
If your eSIM won’t activate, start by checking your Wi-Fi connection, since a stable internet link is essential for downloading the profile. Next, restart your phone and ensure the eSIM is turned on in your cellular settings—sometimes it’s just a simple toggle that got switched off. If the QR code or manual entry fails, double-check that you’re scanning the correct code from your carrier, as typos or blurred images are common culprits. Contact your carrier’s support with your ICCID or activation code handy, and ask them to resend the profile if it expired. Remember, most activation hiccups are carrier-side glitches, not hardware failures, so patience often beats panic. Finally, reset your network settings as a last resort, but back up your other connections first. Avoid factory resets unless advised, as they won’t fix a broken eSIM profile.
Common Error Messages and Simple Fixes You Can Try First
When your eSIM fails, the error message is your first clue. “QR code invalid or expired” usually means the code was already used or has timed out—simply request a fresh QR from your carrier. “No SIM card installed” after activation often signals a profile hiccup; restart your phone and re-scan the QR in Settings > Cellular. “Activation unsuccessful” typically points to poor connectivity—switch to Wi-Fi and retry, as the download needs stable data. For “Profile not recognized,” delete the old eSIM profile and re-add it via the carrier’s app. These basic eSIM troubleshooting steps resolve most issues in minutes.
Q: Why does my eSIM show “Invalid PUK code” and what is the quickest fix?
A: This appears after multiple failed PIN attempts. Contact your carrier for a new PUK, then enter it immediately—or, if you have a backup profile, remove the blocked one and re-download a fresh eSIM to bypass the lock entirely.
Managing Your Digital Profiles When Switching Phones
When switching phones, your eSIM profiles do not transfer automatically, so you must first remove the active profile from your old device via its settings menu to avoid carrier-side conflicts. Next, verify that your new handset is unlocked and supports the same eSIM standard, then scan the QR code or use the carrier app to re-download the profile. Crucially, backup your eSIM activation details—like the QR code or confirmation number—in a secure cloud note before wiping the old device. If the profile fails to install, re-check that you have deleted the old one, as most carriers limit active profiles to a single phone.
Deleting an Old Profile to Free Up Space for a New One
If you encounter activation problems, a common cause is a full eSIM storage, forcing you to consider **deleting an old profile to free up space for a new one**. On most devices, navigate to Settings > Cellular (or Mobile Data), select the inactive profile, and choose “Remove Cellular Plan.” This action permanently erases the eSIM data from the device’s secure element, so ensure the carrier can re-issue it if needed. After removal, restart your phone, then scan the new QR code; the freed slot should now accept the fresh profile. Do not delete a profile tied to your active line unless you have a backup.
Q: Will deleting an old eSIM profile damage my phone?
A: No, removal simply erases the virtual SIM configuration; it does not affect hardware, though you will lose that specific carrier connection.
Is It Possible to Use This Technology on a Locked Phone?
Using an eSIM on a locked phone depends entirely on what the lock is. If your phone is carrier-locked, the eSIM must match that carrier’s profile, so a foreign or competing network’s eSIM won’t activate. However, if the phone is locked through a SIM PIN, an eSIM works fine because that lock applies only to the physical SIM slot. Factory reset protection (FRP) or an iCloud/Google account lock blocks all cellular activity, including eSIM installation, until you unlock it. Can you scan an eSIM QR on a locked phone? Yes, but only if the lock is carrier-related and the profile matches; otherwise, the phone rejects it with an error.
Understanding Carrier Lock Restrictions and Workarounds
Carrier lock restrictions on eSIM technology are tied directly to your device’s IMEI, not the SIM form factor, meaning a locked phone blocks new eSIM profiles from unapproved carriers at the network level. To bypass this, you must first check your lock status via your device’s settings menu, then contact your current carrier for an unlock code—this is the only legal workaround, as carrier lock bypassing via third-party software risks permanent eSIM bricking. Once unlocked, follow this sequence: request an eSIM QR code from your new carrier, scan it under “Add Cellular Plan,” and reboot to activate. If your carrier refuses unlocking, you can use a physical SIM adapter only on models with a hybrid tray, but verify compatibility before purchase.
Checking If Your Current Carrier Offers a Free Unlock Service
Before assuming your phone is permanently locked, checking your current carrier’s unlock policy is the fastest, cost-free first step. Most major carriers in the US and EU are legally required to unlock a device once your contract is fulfilled or the device is fully paid off. Log into your online account and look for a “unlock request” or “device unlock” section under line settings; if it’s not visible, call customer support and ask directly for a free unlock. Be ready to provide your IMEI number and account PIN. The process typically follows this sequence:
- Confirm your account is in good standing and the device is not reported stolen.
- Submit a formal unlock request through the carrier’s portal or a live agent.
- Wait for confirmation via SMS or email—usually within 24 to 72 hours.
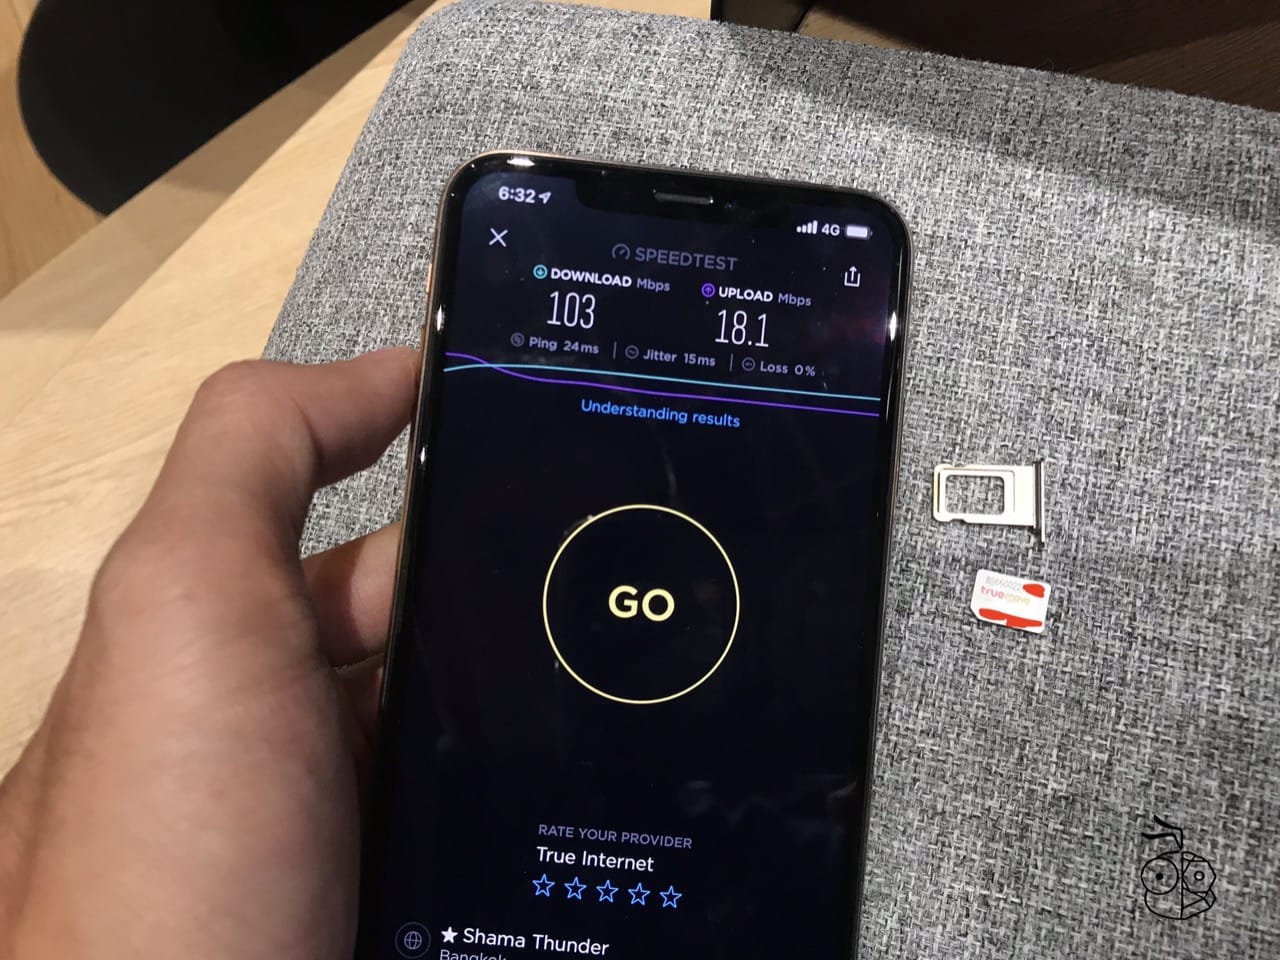
- Insert a non-carrier SIM (or an eSIM from a different provider) to verify the unlock succeeded.
If your carrier refuses, ask for a written denial—this forces them to disclose any hidden contractual conditions you may have missed, such as a 60-day active service requirement.
How Secure Is Your Connection with a Virtual SIM Compared to Traditional Ones?
When you use an eSIM, your connection’s security hinges on the same encrypted carrier networks as a traditional SIM, so your calls and data are equally protected in transit. The real difference is physical theft: a removable SIM can be yanked out and inserted into another phone to bypass some device locks, while an eSIM is soldered in, making it far harder to steal your identity that way. However, because an eSIM is managed remotely, a phishing attack could theoretically trick you into installing a malicious profile, so you must only scan QR codes from your carrier. Is an eSIM safer than a plastic SIM? Yes, for device loss, but both are equally vulnerable to network-level interception. Just keep your phone’s lock screen strong and never share your activation code.
Encryption Standards and Remote Provisioning Safety
Your connection’s true safety hinges on two pillars: the cipher strength guarding your data and the integrity of the provisioning channel. Modern virtual SIMs rely on **end-to-end AES-256 encryption** for over-the-air profile delivery, ensuring the eSIM file is scrambled from the carrier’s server directly to your device’s secure element—never exposed in transit. Remote provisioning adds another layer via mutual authentication, where both your phone and the carrier verify cryptographic certificates before any profile is written. This prevents man-in-the-middle attacks that could intercept your IMSI. A traditional physical card, by contrast, can be cloned if read locally; the remote provisioning protocol, however, binds each download to your unique device’s public key. The result: your identity stays locked behind layered, hardware-backed ciphers that rotate keys per session.
What Happens If Your Device Is Lost or Stolen—Can You Disable the Profile Remotely?
If your device is lost or stolen, you can act immediately to protect your number because the eSIM profile is software-based, not a physical card trapped inside the hardware. Through your carrier’s app or web portal, you can **remotely disable the eSIM profile** within minutes, severing the connection to your number and preventing calls, texts, or data usage by the thief. This remote wipe also blocks any attempt to port your number, since the profile’s authentication keys are invalidated instantly. Unlike a physical SIM, you cannot wait for a replacement card; instead, you simply download a fresh profile to your next phone, leaving the stolen device’s eSIM permanently useless.
Frequently Asked Questions About Switching to a Digital SIM
When considering an eSIM card, the most common question is whether your current phone supports it—check your manufacturer’s specs or settings menu for “Add Mobile Plan.” Another frequent query involves transferring your existing number: most carriers offer a QR code or app-based activation, but you may need to contact support to release the number from your physical SIM first. People also ask if they can keep both lines; yes, most devices allow one active eSIM and one physical SIM simultaneously. Travelers often wonder about data costs—your home plan’s roaming rates typically apply, but you can add a local data-only eSIM without touching your primary line. Finally, switching back is simple: just reinsert your physical SIM or scan the original QR code, and your profile returns instantly.
Can I Still Make Regular Voice Calls Over the Cellular Network?
Yes, you can absolutely still make regular voice calls over the cellular network with an eSIM. The eSIM replaces the physical SIM card but uses the exact same radio and carrier infrastructure, so your call quality, signal strength, and dialing experience remain unchanged. When you switch to a digital SIM, your phone treats it like any other line, meaning you can still punch in a number and call someone directly. If you have a dual-SIM setup, you can even choose which line handles your voice calls. The only practical difference is that your active eSIM profile must have cellular service enabled for outgoing calls, and emergency calls still work without a profile on most devices.
Will Using a Virtual SIM Drain My Battery Faster Than a Physical Card?
In everyday use, a virtual SIM generally won’t drain your battery faster than a physical card. The eSIM chip inside your phone uses the same modem and radio hardware as a physical SIM, so the power draw for connecting to the network is identical. What can make a difference is how your phone manages the eSIM profile—especially if you’re using dual SIM mode. When both a physical SIM and an eSIM are active simultaneously, the phone constantly scans two networks, which does increase power consumption. However, if you disable the inactive profile, battery drain from virtual SIM usage becomes virtually indistinguishable from a physical card. So, rest easy—your eSIM isn’t secretly hogging your battery.
Does It Work with Older Operating Systems or Only the Latest Software?
Compatibility with older operating systems depends on the device’s eSIM profile management stack, not just the OS version. Android 9 and iOS 12.1 introduced native eSIM APIs, so devices running those versions typically work, but carrier provisioning apps may require newer OS patches for remote SIM activation. If your OS is older than that, the phone’s firmware likely lacks the necessary modem-level support, rendering the physical SIM slot mandatory. A practical check: list your device model and OS build, then consult the carrier’s compatibility list—many carriers maintain legacy endpoints for outdated Android builds, but iOS updates often drop support after five major releases. For troubleshooting:
- Verify the OS version under Settings → About.
- Search the carrier’s support page for your exact device model.
- If unsupported, request a physical SIM or update the OS if the phone allows it.
